- About 1 yard each of two coordinating fabrics-one for your main fabric and one to go on the back
- Wide ribbon for the bow
Instructions:
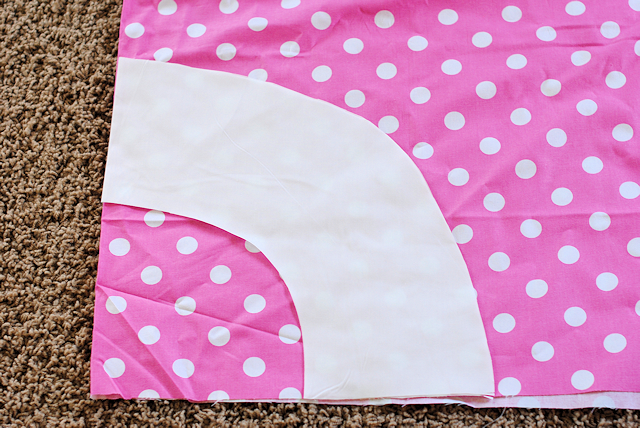
To cut out your apron, fold your fabric. This is what your apron is going to look like when it is cut:

Here are the measurements:
- Across the top of the chest it should be 11 inches
- From the chest to the bottom of the apron it should be 24 inches
- The curve at the very bottom is also 24 inches
- The bottom of the armpits is 13 inches from the top (that’s measuring around the curve)
** You need to cut all of this from your main fabric and your back fabric.
Be sure that you are halving several of these measurements when you cut because the fabric is folded. So the neck and the bottom curve need to be halved in your mind as you are cutting so that when you unfold it they measure the full size.
Also, remember that aprons are very forgiving. Your pattern doesn’t have to be exact and it will still look great!
Also cut:
- 2 pieces that are 38″ x 5″ for the straps from your main fabric
- 1 piece that is 21″ x 5″ for the neck from your main fabric
For the ruffle, you need to cut a half circle. To do this, fold your fabric and cut a quarter circle on the fold so that when you unfold it you will have a half circle. I cut this piece 6 inches wide. The center cut of your circle need to be at least 24″ when unfolded-so 12″ when folded like this image. Again, this number will be forgiving, it just needs to be a least that long.
Let’s start by making the straps and the neck. Fold the fabric lengthwise with right sides together and sew up the long side and for the strap, one of the short sides. I like to angle that short side on my straps (as seen in the picture below), but that is optional. Turn them right side out and press them flat:

Grab your two ruffle pieces-front and back-and sew them together so that right sides are touching. You will sew down one short side and across the bottom of the circle. Don’t sew up the other short side yet.
Take your two large apron pieces. Lay your main fabric piece out with the right side facing up. Begin to pin the ruffle around the bottom edge *beginning one half inch in from the edge. You need this extra space with no ruffle in order for it to turn right at the end. The right side of your ruffle should be down, touching the right side of your apron. Also, as you add the ruffle, also pin the back of your fabric on top so that you are creating a sandwich-main fabric, ruffle, back fabric-with all of the right sides facing in.
You want raw edges together here-so the raw edge of the ruffle along the bottom of the apron. As you go it’s going to fold in on itself a little. This is perfectly fine.
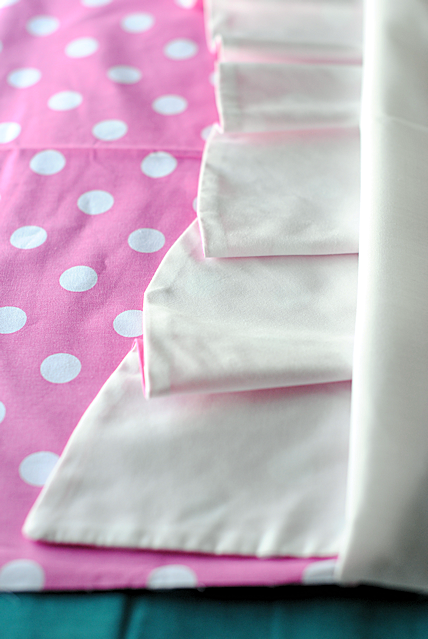
As you near the end and can tell where your ruffle will end you will have excess ruffle. Cut it off about 1 inch more than you need, then fold that extra inward on itself and sew it shut. Finish off your pinning of the ruffle in place.
Sew that in place:
Now, pin the straps in place on either side of the apron about 1 inch below the bottom of the armpit curves. The straps will go inside the apron sandwich you are creating with just a little excess sticking out:

Place your neck strap at the top of the apron near the outer edges but with about 1/2 inch space on either side. The strap will be inside the apron with the ends sticking out:

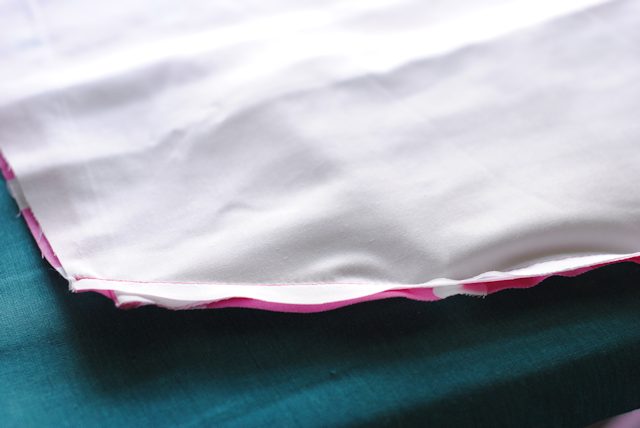
Now sew it all the way around leaving about a 4 inch opening down near the bottom on one side so that you can turn it right side out.
Turn it right side out and press it flat. Sew the opening shut.
Hand stitch on a cute bow and you’re done!
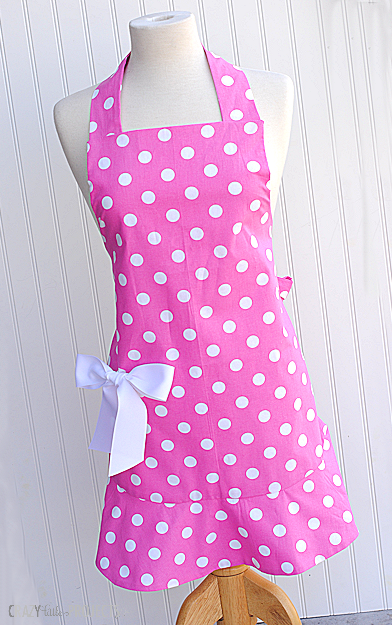
I seriously love this guy! Isn’t it cute? 


